Thursday, April 28, 2011

Putting on a wig.


This tutorial is on how to put your hair up into a wig.
Now, the first way most people try to put their hair up into a wig is bobby pins. Personally, I find this uncomfortable and time consuming. Another way people try to put their hair up is in a wig cap. Now,this is the way I’ll be demonstrating.

Items needed:
2 queen size knee highs

Note:
This technique also works for long hair very, very effectively. I personally have long hair and the wig I’ll be putting it up in.


Step 1:
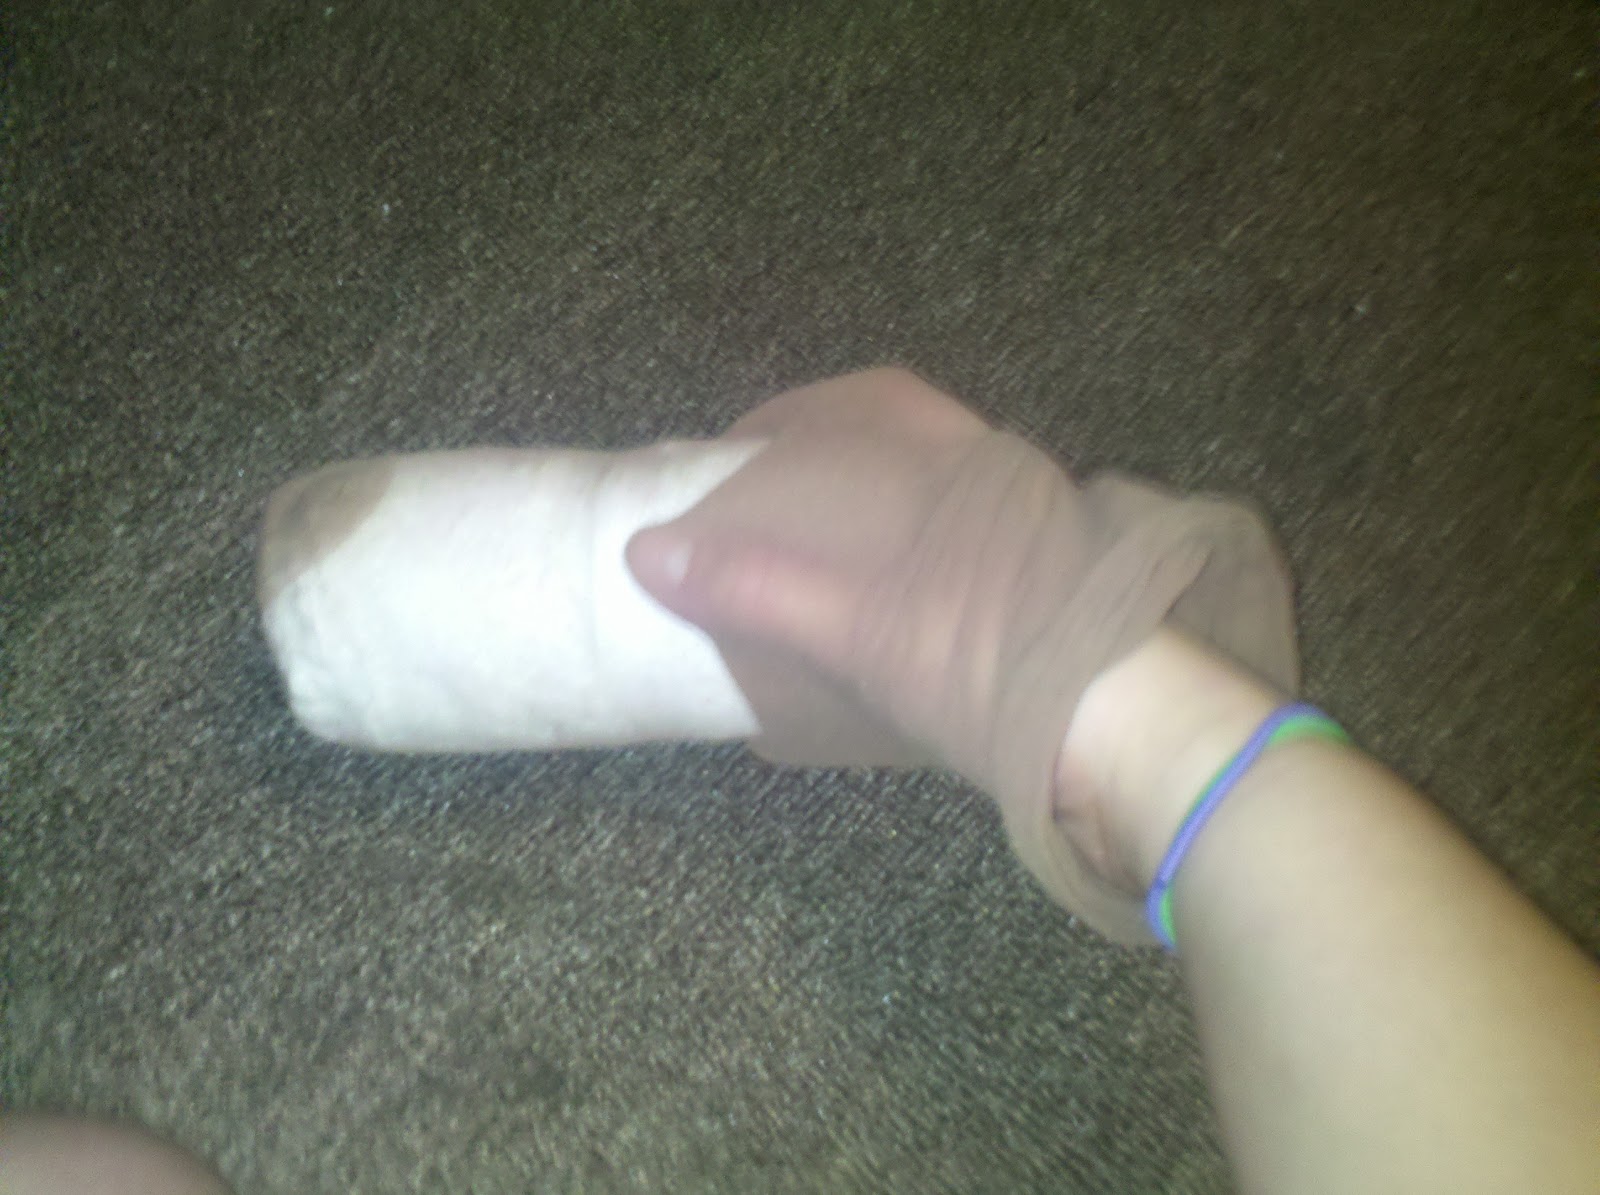
Pull your hair back, bangs and all, and stretch the first knee high over your hair, like a regular cap.


Step 2:
Once it is secure, tilt your head forward and  flip all your hair towards your forehead.


Step 3:
While keeping your head down, put on the other knee high. At this point, the layering should be head, knee high, hair, then knee high. Tuck the loose strand into the 2nd knee high. 


Step 4:
Put on your wig and go. 


So as you can see, this way even long hair can fit up into the shortest wigs. Not to mention, there is no odd "lumping" that bobby pinning can do.
Hope this helps!

Wednesday, April 20, 2011

How to fold a kimono


Welcome back! This tutorial is on how to properly fold a kimono.

Step 1:
First, lay out your kimono on a nice, clean floor. Get it all straightened out so that the outer seams of the kimono are on the fold


Step 2:
Pull back the “Flaps” and fold it back to the front seam.


Step 3:
Grab one side of the kimono and pull it over to fold the kimono in half.


Step 4:
Grab the bottom of the kimono and fold it up till it’s level with the bottom of your sleeve. Once that fold is done, fold the sleeves inward.


Step 5:
Finally, fold the kimono in half, making the meeting point of the sleeve and the bottom your crease.  It is optional, but you can fold that in half once again. And your kimono is folded for storage.


Sunday, April 17, 2011

Simple How to make an obi makura tutorial

Yay! Another kimono tutorial. Today, we’re going to be making an obi pillow , or makura. A makura is used to “perk” up your obi for some knots.


Items needed:
1 medium hand towel ($1)
3 queen knee highs ($.50 per pair)
1 roll of sports tape ($1-$2)


Step 1:
Lay out your towel flat and cut it in half.


Step 2:
Take one half and fold it, then roll the folded half.


Step 3:
Put the roll into one of the knee highs. Repeat steps 2 and 3 on the other half of the towel.


Step 4:
Knot the open end of the knee high. Turn the knee high inside out and wrap (for the lack of a better word) the tube till there’s not too much slack stocking. Knot the open end.


Step 5:
Take the other knee highs and cover the ends of the tube. Then take the sports tape and wrap the tape around the tube, securing the two knee highs. Wrap till secure.


And vola! You have a finished makura!


Hope you enjoyed please leave a comment!

Saturday, April 16, 2011

Simple How to make a Obiita


This is a little guide on how to make an Obiita, a.k.a. an obi stiffener.


The obiita is used to keep the obi from wrinkling when you bend over. Sometimes it can be secured with elastic, but in my case, I decided to go with just a simple shoestring. Usually this piece, just the plastic, runs about $6. For this little project, I ended up spending about $2 and that's with a way to secure it.


Items needed:

1 plastic folder (approx $1)
1 set of shoelaces ($1)
Eyelets(Optional [I had the machine and extra eyelets])


Step 1:


Set the folder out and draw a rectangle about 6inches wide X 12 1/2 inches long.


Step 2:


Cut out the rectangle and round the corners of the cuts.


 Step 3:

Poke a hole about 1 inch into the plastic on each side.

Optional:

Put eyelets into the holes.


 Step 4:

String the shoelace through the the poked holes. Make sure the string is in the front of the obiita.


PATTERNS: